Open topic with navigation
Pending Sale Settings
POS Terminal Settings
Go to Setup > POS Terminals > Modify > Miscellaneous Tab > General.
When Pending Sales are generated, they will be given a pending sale code to keep them organised.
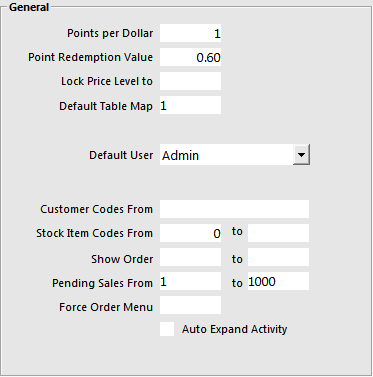
Global Options
Global Options - General
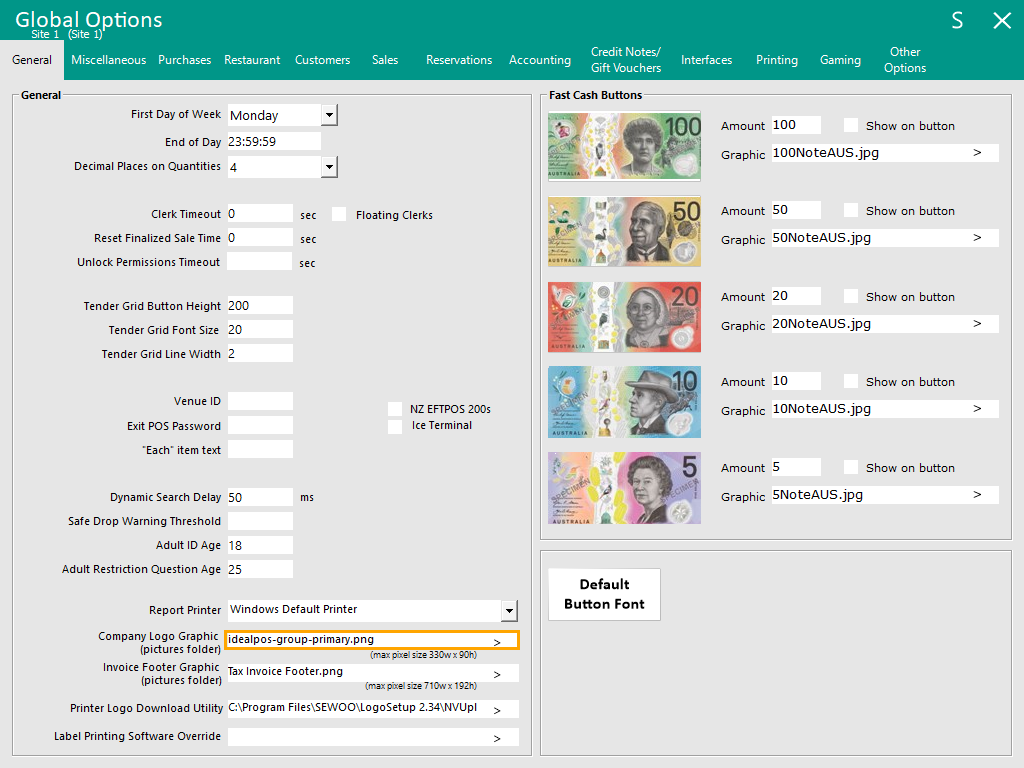
The Company Logo that is set in the Company Logo Graphic will be displayed on the top-right corner of any Pending Sale Windows Prints.
Place the Company Logo Graphic into the folder path C:\ProgramData\Idealpos Solutions\Idealpos\Pictures\
Then go to: Back Office > Setup > Global Options > General > Company Logo Graphic.
Browse to the above folder location and select the Company Logo Graphic.
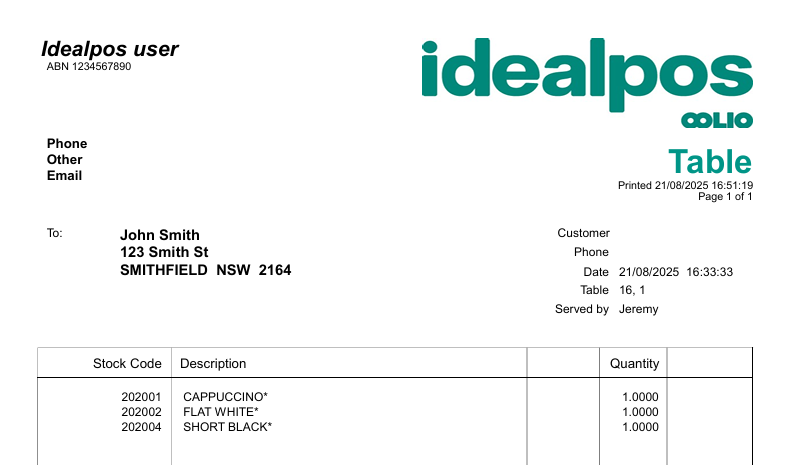
Go to: POS Screen > Pending/Pending Sale > Select a Pending Sale from the grid > Press the "Windows Print" button on the bottom-left corner of the window.
The Company Logo Graphic will be printed to the printed Pending Sale.
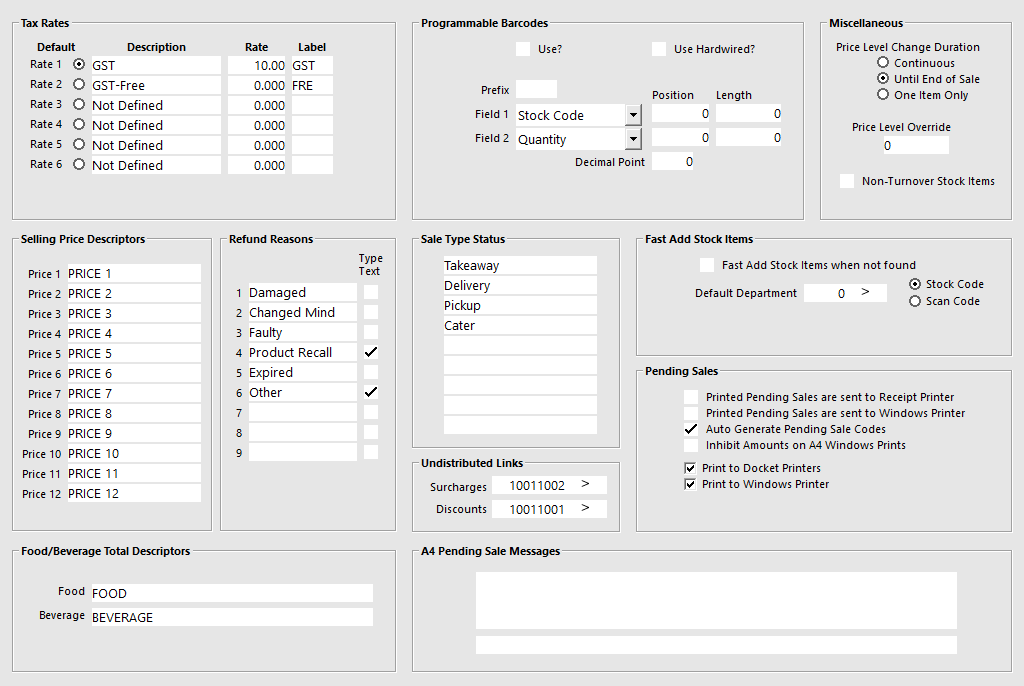
Global Options - Sales
Go to: Back Office > Setup > Global Options > Sales.
There are three sections that can be set which are:
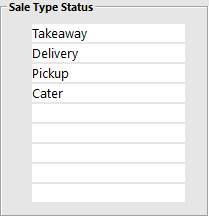
Sale Type Status
These descriptors can be used to categorise your pending sales.
When a pending sale is saved you have the option of applying one of these labels.
These can be used for take-away stores, or businesses that want to highlight pick-up times and delivery details.
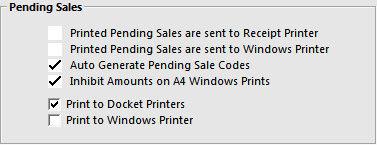
Pending Sales Options
This set of tick boxes controls how printing of pending sales is handled:
- Auto Generate Pending Sale Codes - When this option is enabled, Idealpos will automatically generate a Pending Sale Code when creating the Pending Sale.
- Print to Docket Printers - When this option is enabled, Idealpos will send the Pending Sale to the Kitchen Printers after the Pending Sale has been saved. Note that in order for this to happen, the Stock Items added to the Pending Sale must also be configured to print to Kitchen Printers.
- Print as Bill to Receipt Printer - When this option is enabled, any Pending Sales that are printed will also be sent to the Receipt Printer and will be printed in the format of a 'bill'. In order for this option to take effect, the "Print to Docket Printers" option must be enabled.
- Kitchen Print minutes before Expected Time # - When this option is enabled, the Save Pending Sale window will show a "Send to Kitchen" section with two options to either select "# minutes before Expected Time" or "Immediately". The number of minutes configured here will be pre-filled into the "# minutes before Expected Time" option within the Save Pending Sale window. When selecting # minutes before Expected Time on the Pending Sale window, the Kitchen Docket will be printed the number of minutes before the Expected Time. In order for this function to work, you must have "Print to Docket Printers" enabled, Kitchen Printers must be configured/enabled, Idealpos must be running at the time the docket is scheduled to print and the items in the Pending Sale must be configured to print to the Kitchen Printer.
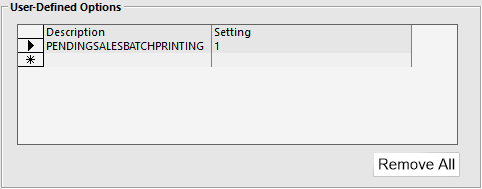
- Kitchen Print minutes before Expected Time # - Support for Ideal Kitchen Monitor
To enable Kitchen Monitor minutes before Expected Time to apply to Ideal Kitchen Monitor print jobs, go to:
Back Office > Setup > POS Terminals > Select a POS Terminal > Modify > POS Settings > User-Defined Options > Create the following User-Defined Option:
- Description: PENDINGSALESBATCHPRINTING
- Setting: 1
- Print to Windows Printer - When this option is enabled, Idealpos will send the Pending Sale to the Windows printer after the Pending Sale has been saved.
- Inhibit Amounts on Windows Printer - When this option is enabled, any amounts such as the Unit Price, Amount, Total Amount and Tax Amounts will not be printed on A4 Windows Prints of the Pending Sale. A maximum of three Tax Amounts will be included at the bottom of the Pending Sale when this option is disabled.
- When printed from Table Map send to Windows Printer - When this option is enabled and the Yes/No Option "Automatically Print to Kitchen" is disabled, a Pending Sale that is saved to a Table will be sent to the Windows Printer when selecting the Table from the Table Map and pressing the "Kitchen" button.
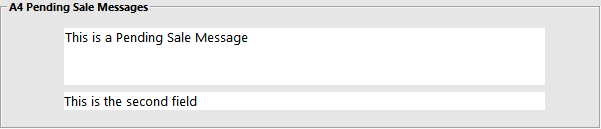
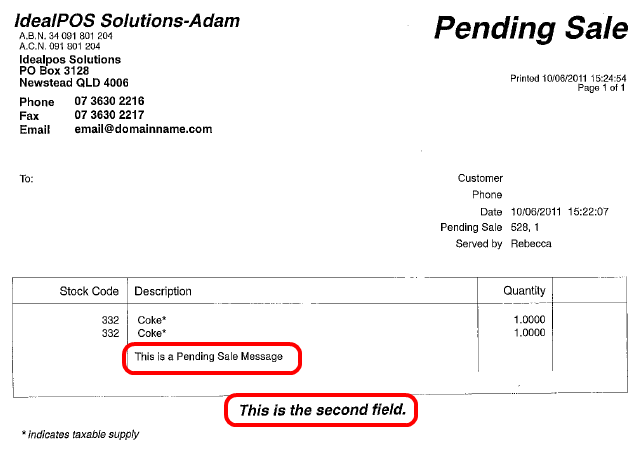
A4 Pending Sale Messages
Details that are entered here will be printed on A4 windows print outs.
Yes/No Options
There are many Yes/No Options that can apply to Pending Sales.
Refer to the Yes/No Options topic for further details.
Clerks & User Permissions
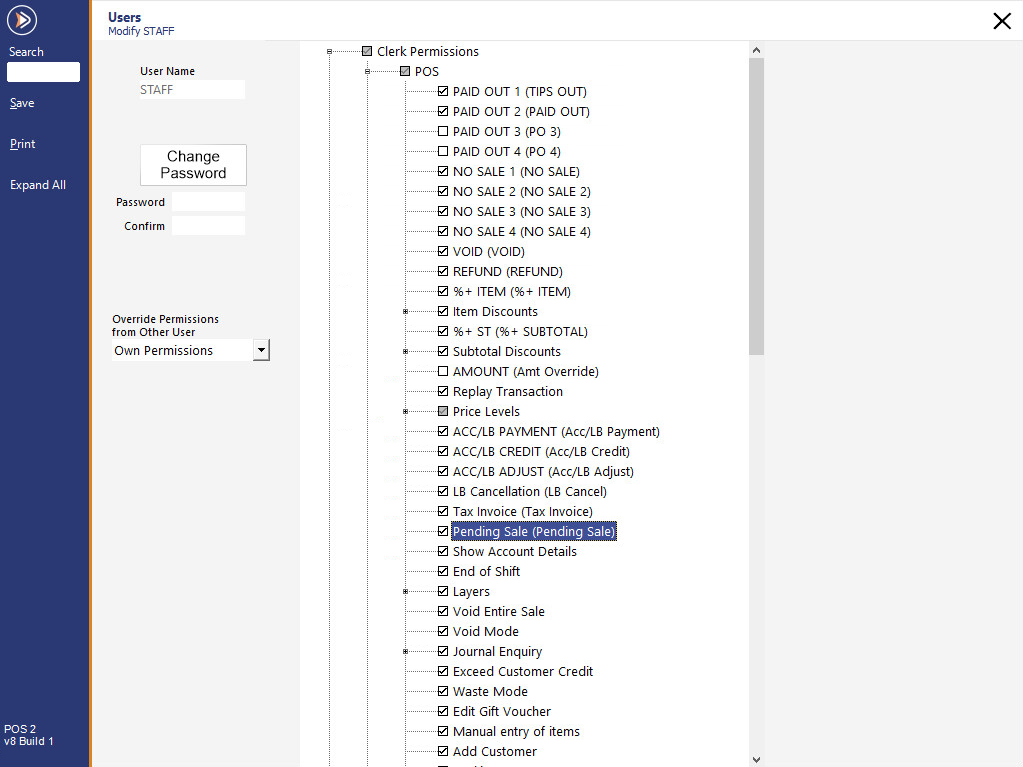
Clerks that are linked to Users other than Admin can be set by going to: Setup > Users > Modify > Clerk Permissions > POS > Pending Sale.
Clerks that do not have permission to use this function will be shown a message box.
POS Screen Setup
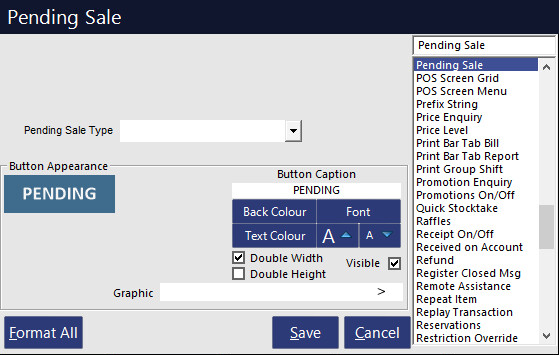
A Pending Sale button will need to be created to allow you to save and retrieve sales.
Go to Setup > POS Screen > POS Screen Setup > Buttons.
If required, you can select which Pending Sale Type you want to link the button to, and create multiple Pending Sale buttons for each type.
Function Descriptor
The Pending Sale Function Descriptor can also be customised as required.
The Pending Sale Function Descriptor will appear on the top-right corner of the Pending Sales that are printed to the Windows A4 Print.
To configure the Pending Sale Function Descriptor, go to: Back Office > Setup > Function Descriptors > Select "Pending Sale" > Modify.
Enter a Pending Sale Function Descriptor as desired; the entered description will appear on the top-right corner of any Pending Sales that are printed to the Windows A4 Print.
Open topic with navigation